Blissfully Yours ~ Card Creations


Hey Guys!!!

This week has gone by so fast! Has it for you? Well in the midst of it all, I managed to create some cards! I used the AWESOME 12x12 Collection Kit by Simple Stories called Vintage Bliss! The vibrant colors make the cards seem uplifting and fresh!  I absolutely love this collection pack.  I got the collection pack because I wanted to use the die cut elements and sticker sheet for cards. This makes card making SO much easier :)  I also picked up the 6x6 paper pad as well. This was going to help me with all the extras, like backgrounds, layering, banners, tags..etc. Aside from a couple pieces of lace, silver pearls, the Cheery Lynn doily die that I love and a few flowers, I just used the collection kit. Let the paper do the work!

I saw SO many ideas on pinterest for using this collection pack. There were layouts, mini albums, tags and of course - with all the cuttable elements and sticker sheet - cards! With Christmas coming around the corner, why not whip up a batch of cards as a gift? It can't get any easier - just copy mine, lol!

Okay, no more talking (typing), here come the pictures!!! I hope that you can visit Scrapyland to pick up this paper collection - you will not be disappointed!!!

Also, visit my blog to check out other things I've created. I welcome ALL crafters :) Here we go!!


Well, that's it for now guys! I just wanted to pop in and give you all some ideas on ways you can really work a paper pad. This Simple Stories Collection kit is no different! I have a TON of paper left still, I used the sticker sheet and the journaling cards sheet almost until there was nothing left. I love how most of the card work is done for you!

Thanks guys for stopping by and I hope that you were able to gather some inspiration form these cards and make your own. These would make great gifts ;) You can find the collection kit and the 6x6 pad on Scrapyland's website.

Thanks for stopping by and be sure to visit me sometime :)


Scrappy Hugs,


Tmika

A Joyous Christmas

Hey- Hey all!

Have you ever destroyed a paper pack? By that I mean in a good way. Using the ENTIRE paper pad until there is nothing left BUT scraps? Well, that is just what I did. You remember last week I talked about the Joyous paper collection by Authentique? I made the Christmas Home Decor. I love the paper and it was all so very handy with basically any type of project.  I decided to see how many projects I can make with it. So, let's count :)

I first started out with a paper bag mini album. If you're looking for something quick and easy to complete in a sitting, this one is my favorite go-to mini's to make. I used black Recollections paper bags and made some chipboard covers. I added some colored balls and black flat back pearls to the cover. I let the paper and the die cuts do the rest.


Here is the inside of the mini album. It has 5 pages, complete with tag inserts that can hold 4 large photos each! I have also included some extra tags inside the front and back pockets. See how this paper collection/die cuts can do so much?


Up next is a book card that I made. You can find the tutorial here for this type of card. Again, I used the paper collection to do most of the work. I cut slim strips and curled them with my pencil to add interest. I also made a couple ribbon banners out of the scrap strips. I used another Michaels pick to make a floral assortment in the corner. Some crochet dollies, bling trim, seam binding and lace complete this look.  On the inside, I added more lace and trim and popped a die cut from the collection on pop dots to add dimension. I enjoyed making this book card.


Up next are a few cards that I made with the left overs. You can do a lot with the unused journal spots or images from a paper collection. At the very least, make a couple of 3x3 note cards to send to family and friends. I'm sure that they will love the gesture!


So if we count last week's post of the home decor, the mini album, the book card and the additional cards - we have a WIN WIN!! Im planning on selling these items at my upcoming craft fair. I really feel like Authentique did a good job on creating versatility with this Joyous paper collection. KUDOS!

I hope you are able to grab this collection at Scrapyland and make some of these quick and easy projects for your family and friends! Until next time, guys...


Scrappy Hugs,

Tmika


Prima Doll and Tag

Hey all!

Hope you guys are having a wonderful week! First things first, if you entered to win the mini album from last week's post over on my blog, be sure to check to see if you are the winner! Thank you all for leaving such awesome comments!

Now, on to this week's post. Today I'm using the cutest little 6x6 paper pad from Teresa Collins. It's called Memorabilia and its Uber Cute!! I wanted to create a tag and coordinating card to go with.  I think they turned out rather cute. What do you think?

For the tag I used my Prima doll stamp as my focal point. I did some simple paper piecing with her and added some bling to her headband. I used my Cameo to cut out the sentiment, the angel wings and the halo. Quick tip: use household spray starch to add some sturdiness to your cardstock die cut elements.


I took some random scraps from the paper pad and distressed the edges with Colorbox Pigment Cat's Eye Ink in black. I gotta admit - I love these little things! They are so handy to hand on hand. I popped the Prima doll on some American Crafts pop dots to add dimension. I added stickles to the wings, halo and sentiment.

Some lace, bling trim and a silk flower complete the tag. Here is the card I created to go along with the tag.


The card came together pretty quickly. I chose to use a black card stock base of 5x5. Since I was using fairly thin card stock I added an extra layer. I used my crimper to add some sturdiness to the paper. Once I did that, I just added the patterned paper. I did pop the second layer up with dimensionals.

 I added more bling trim ( I love this stuff) around the edges of the sentiment. I fussy cut the flag banner from the collection and added it to the top. For a final touch, I used resin embellishments and seam binding to the corners.

Thanks guys for stopping by! I hope that you are able to stop by Scrapyland.com to check out these items and more!

Scrappy Hugs,

Tmika


From Trash to Treasure - Holiday Decor with Tmika

Hey guys!

Hope all of you are having a fantabulous week! I sure am. I found a great find on a curb this week. I was on my way to the gas station and saw this unusual art piece on the curb with a 'free' sign on it.  It immediately got out and grabbed it because it was something I knew I can alter into something great! Want to see what I found? Here ya go:


The patches in the center were padded pieces of quilt art. It looks bad up close, lol! I decided to rip those babies out with my Tim Holtz scossors and see what's hiding underneath.


After removing the patches and lining fur, I started painting it with gesso. I used 3 coats to try and get a crisp white look. I was able to retain some of that natural crackle as well.


Ahh..I was loving it already. I decided to add some patterned paper at this point. I used this AWESOME Christmas collection called Joyus by Authentique. Loads of stickers and cutouts! (more projects coming with this ;)


 At this point, I thought it needed something extra to make the edges pop. So I decided to outline them with black paint. It was rough, but I got it on there :)


Now comes the fun part! I started decorating. I created a wreath using my Cameo - love this thing! It was a TON of little leaves to fold and place, but it was all worth it in the end. I added the punch outs from the Joyus paper collection  and popped those up with pop dots. I added some faux cherries and gold colored balls from a spray I got at Michaels.


 I added some lace and trim that I got from Hobby Lobby and a string of gold color beads to tie it all in.


 For some final touches, I used some silk flowers to create a little floral collage on the corners, added some lace to hang the piece, some stickles to add flair and finished with a tiny bow on both ends. Voila!


Thanks so much for stopping by! I hope you were able to gather some Holiday inspiration. Maybe you can go out on a hunt for someone's 'trash' and make it your 'treasure'!  Be sure to check out Scrapyland's store for these items and more!

Scrappy Hugs,

Tmika


C.A.S.E. It Card Tuesday

Hey all!

Quick post today. It's that time again - C.A.S.E.  It Card Tuesday! I love doing this series - it takes me out of my element sometimes and challenges me. Here is the original card that I cased:

 
Gosh, the card is so CUTE! I absolutely had to copy it!
Here is what I came up with:


Ahhh... I love it!!! Do you?  Thanks guys for stopping buy! I'd really appreciate it, if you said a quick Hello!
 
Happy Scrappin'
 
Tmika
 

C.A.S.E. IT CARD TUESDAY

Hey all,

Quick post today! I wanted to share with you episode 18 for my C.A.S.E. IT CARD TUESDAY series on YouTube. If, you want to check out the video - here ya go!

Here is the card I copied:


It is Super adorable, quick and easy. Three of the best elements a C.A.S.E. IT girl can have :) Here is how I duped it:


I think I did alright! I used Prima printery paper, some dictionary paper and a sheet from an old MME paper stack for the heart. Some jute, gold stickles and a paper flower add the finishing touches. Thanks guys for stopping by! Leave a comment and let me know you were here!
 
Scrappy Hugs,
 
~Tmika~


Winner!! Winner!!

Hey all!! Just stopping by to announce the winner of the Blog Candy giveaway!! There were 89 comments - THANK YOU - that were able to be counted. I had to delete the duplicates :(

I read them all and thank you so much for your support.:) Now on to the good news..

Ramdom.org generated a number, 1 out of 89

 
It came up with number 46. Starting from the first comment I counted up to 46..

 
This gave me the winner! Here is her comment..
 
Michelle D.October 16, 2013 at 7:34 PM
Congratulations Tmika. I know they are going to love your projects. My favorite paper collection is Teresa Collins Santa's List. Thanks for the chance to win.
 
Congrats, Michelle. Please send your mailing address within 48 hours . You can send it to: tmikamiller1@gmail.com . I will be mailing your package out on Monday.
 
Thanks everybody for playing!!
 
Scrappy Hugs,
 
~Tmika~
 

"Explore" Topnote Mini Album

Hey all!

Happy Thursday!! The weekend is right around the corner! Do you plan on doing something fun? Are you traveling or exploring? Well, if you are - I have a treat for you! Today's post is of a quick and easy mini album.

I am going to be giving this little number away. Yay! So, be sure to leave a comment for your chance to win. (**WINNER POSTED BELOW**)

Now, on to the good stuff. I used a top note die to cut out 5 pages in chipboard and 10 pages in the Teresa Collins Far & Away 6x6 paper pad.  I used some foam dots to pop up my title. Some of the extra ephemera I used was from the Farmhouse paper collection. I also used my Cameo to die cut a cute little frame to surround my title. It reads: The Journey not the arrival matters. I think it turned out cute!


 I added a 7 gypsies binding ring through a Making Memories xl eyelet, to hold some black and cream lace from my stash. I simply tied those in a knot. That cute little bottle cap charm was from swap I hosted on my blog. It works perfectly on the cover. Jute rope is wrapped around the edge of the mini and tied in a bow. This is what the charms hangs from.  The little dangles are adorable :)

I kept the pages on the inside very clean and simple. The tabs that you'll see are left a bit open. This is so the pictures can tuck behind. Here are some pics of the inside of the mini album:


Isn't it just the cutest thing? I think so  :) Be sure to stop by my blog and leave a comment for a chance to win this and a little something extra ;).

**DRUM ROLL PLEASE****
The winning number is 10!! This is the comment..

VeronicaAOctober 24, 2013 at 8:01 AM

That top note die is a favorite of mine even though I don't own it. Your mini turned out so cute using it. Great paper collection! Thanks for the chance to win.

CONGRATS!! Please email me you addy @ tmikamiller1@gmail.com

Thanks so much for stopping by. Check out the other ladies of the Fab Four design team for their awesome projects!

 Scrappy Hugs,

~Tmika~

Halloween Bag Toppers/ Gift Bags

Hey all!!

Happy Sunday!! I have been busy in my craft room this weekend, preparing for an upcoming craft getaway with some awesome ladies on Youtube. I was in MOJO heaven, lol!

Here is my post for today - I was unable to get the video to add the pictures for some reason (ugh). At any rate, this is a design team project for The Cutting Café. This weeks challenge was to use any Halloween file. I chose to use one of the most recent files - Halloween Bag Toppers. It is SUPER cute and versatile. The possibilities are endless for the bag - great one to have in you pockets :)

Here are some pictures:

I also used the ELISHA JEAN AND FRIENDS BEING GOOD WITCHES file.


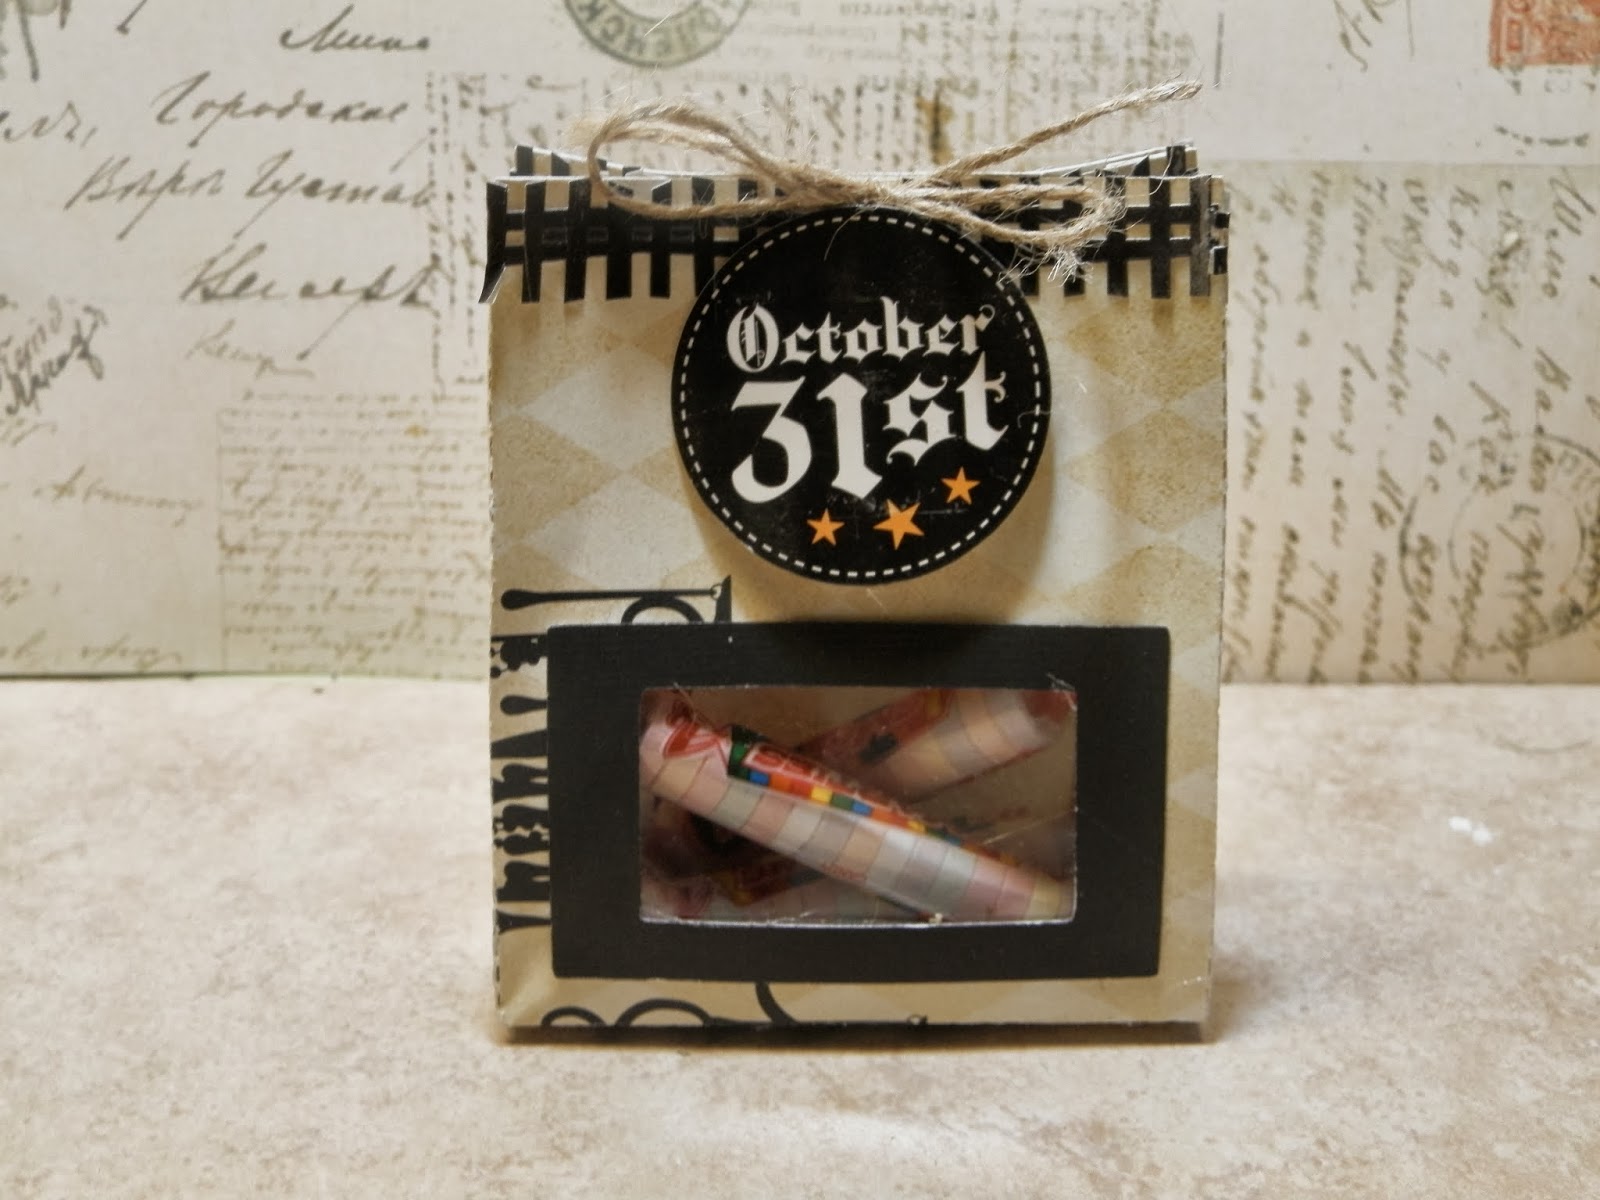
This one was using the smaller bag with window - so cute :)


This last one is just a picture of the tutorial that I did on my YouTube channel. I will post the video, once it uploads :)

 
Thanks guys for stopping by and I do hope that you visit The Cutting Café and check out these awesome files! Be sure to leave a comment on the upcoming blog post to be entered to win a set of 3 files.
 
 
Happy Scrappin'
 
Tmika